Function and Flow
The Room Photo Reading: What the Camera Reveals and Distorts
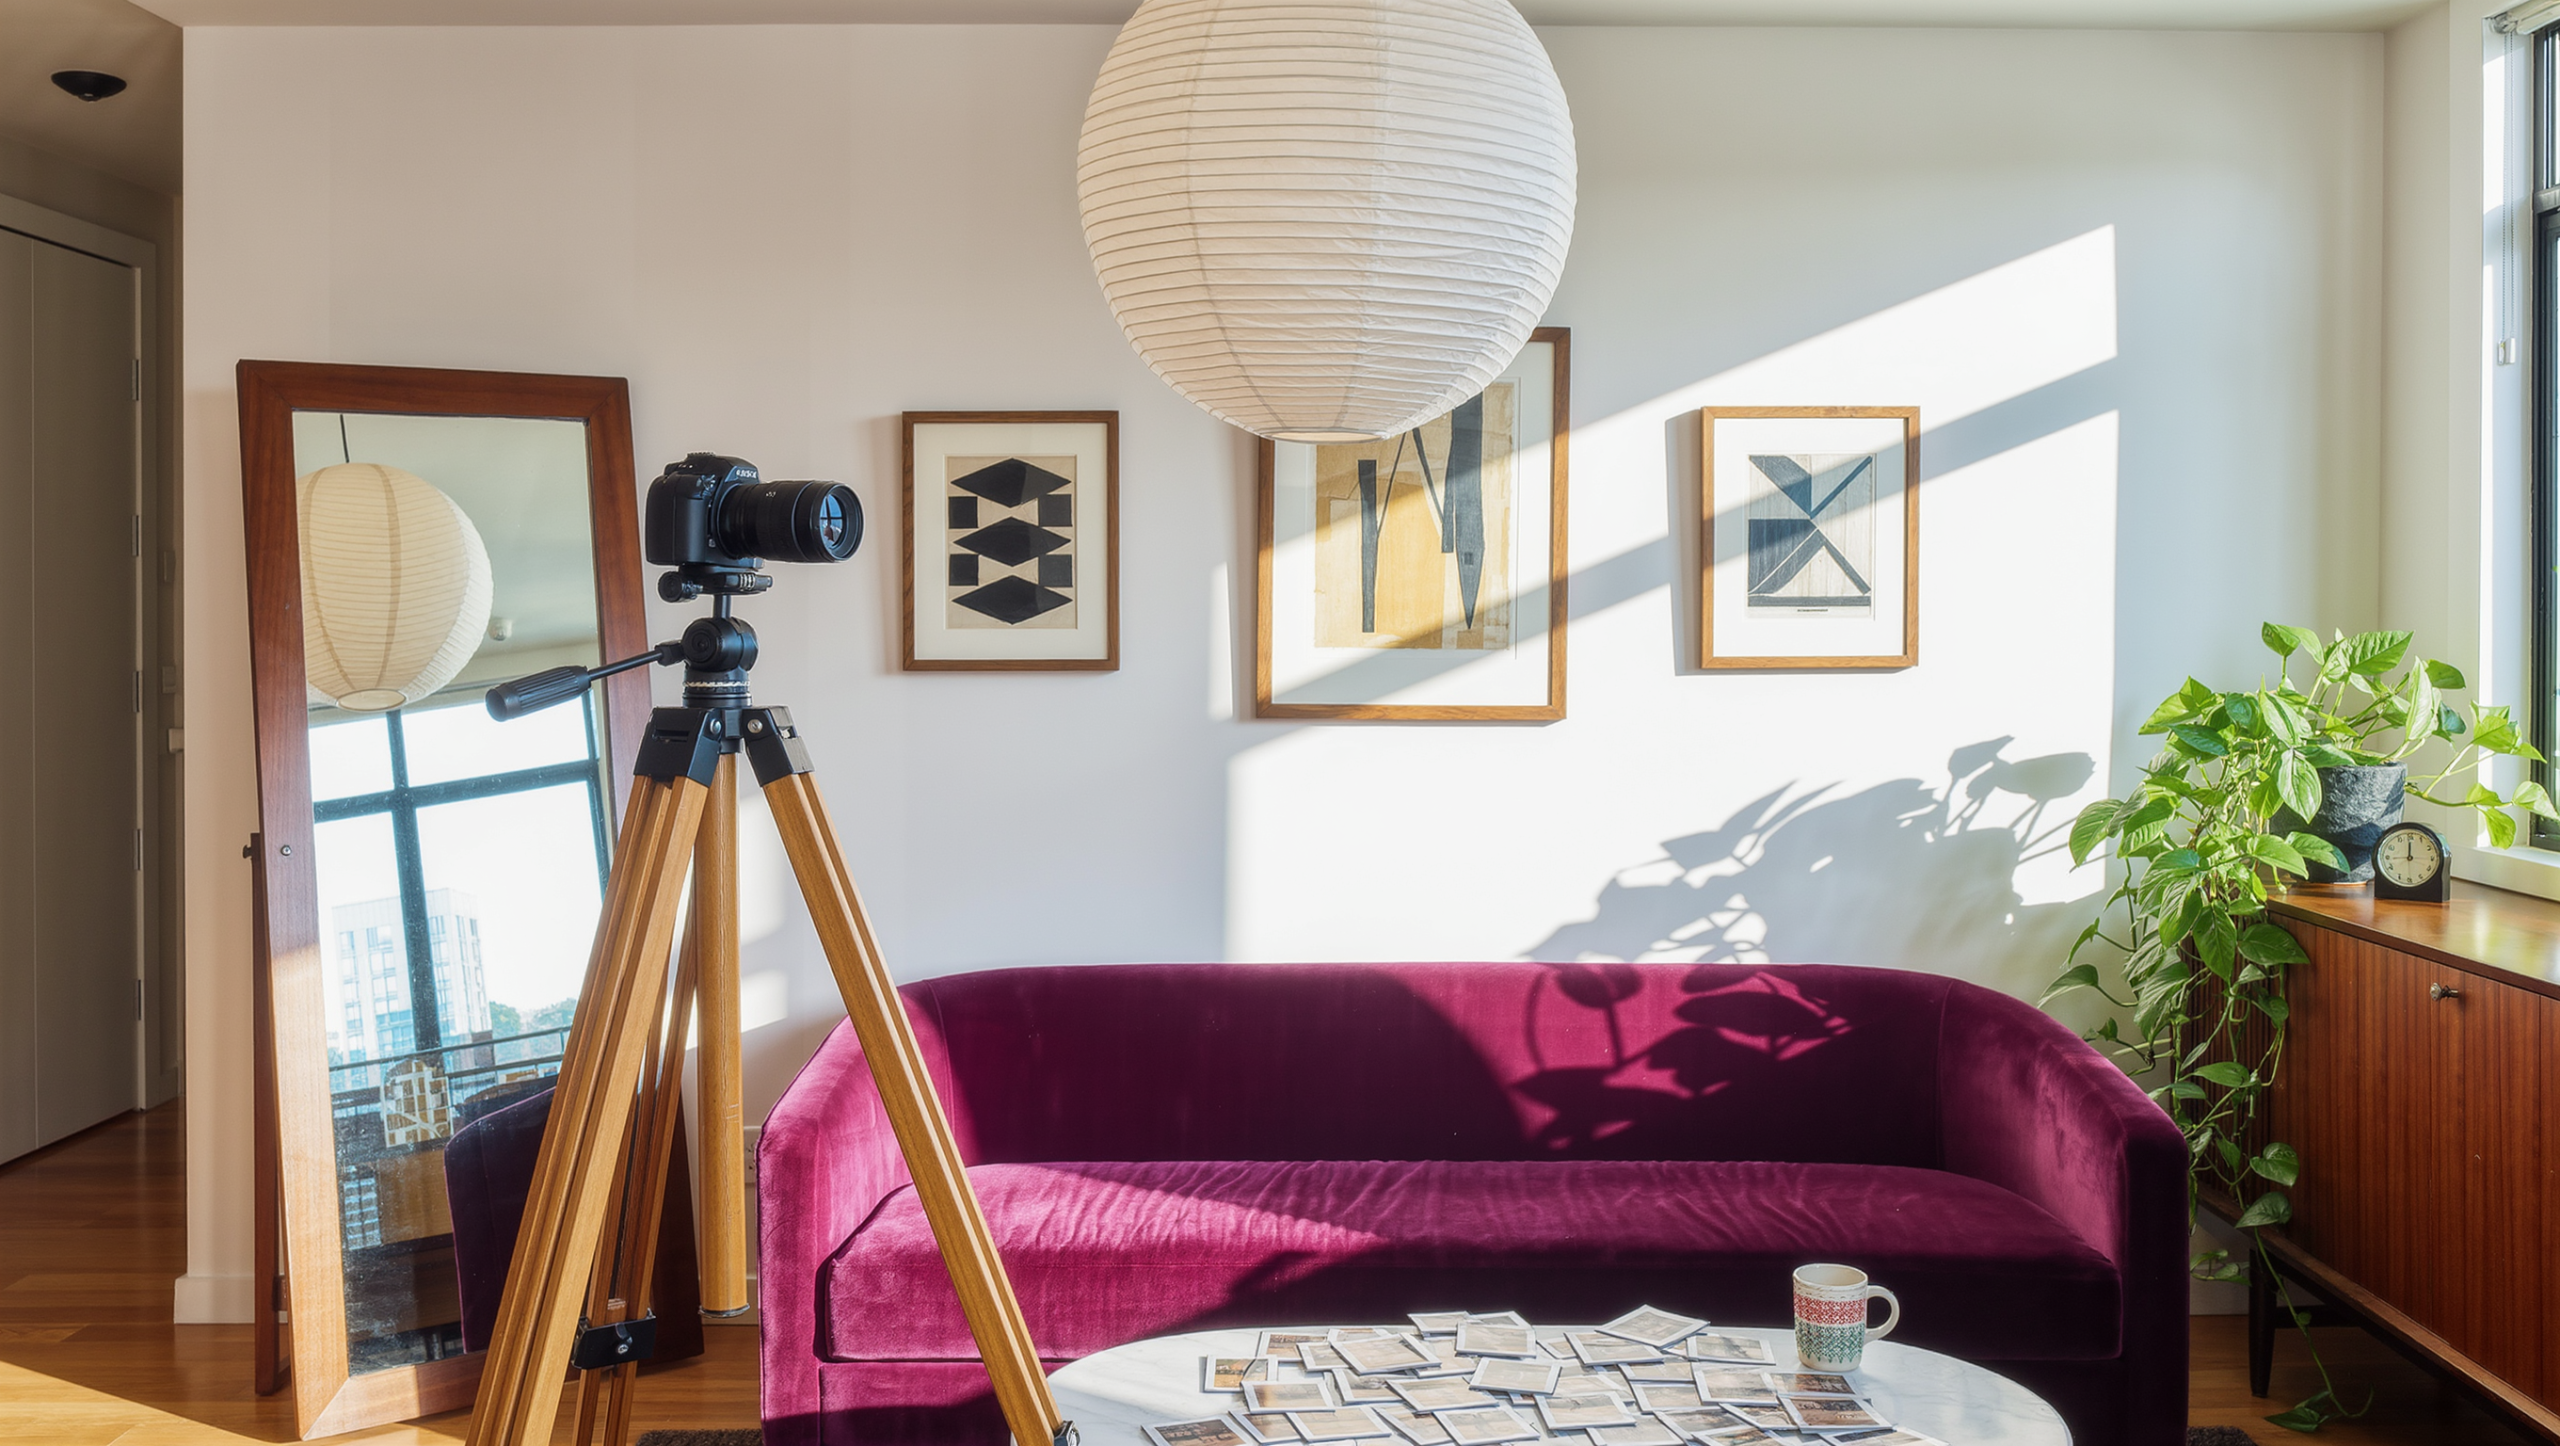
Photos can expose visual imbalance while also flattening depth and exaggerating proportion.
On this page
15
A room photograph can reveal visual weight, blocked sightlines, uneven height, and clutter the eye has stopped noticing. It can also distort depth, scale, color, and distance.
The camera is a useful witness with a complicated relationship to perspective. Use photographs to generate questions, then return to the room to verify the answers.
The photograph is evidence of how the room appears from one position. It is not evidence of how the room feels to sit in, walk through, clean, hear, or use.
What the camera reveals well
- What dominates the doorway view.
- Where dark, patterned, reflective, or tall objects cluster.
- Whether furniture reads as a group or as unrelated pieces.
- Which surfaces appear visually noisy.
- Where the eye has no place to rest.
- Whether routes and thresholds are legible from a particular view.
Familiarity can make these conditions disappear during ordinary use. A still image compresses the room into a composition and makes imbalance easier to notice.
What the camera distorts
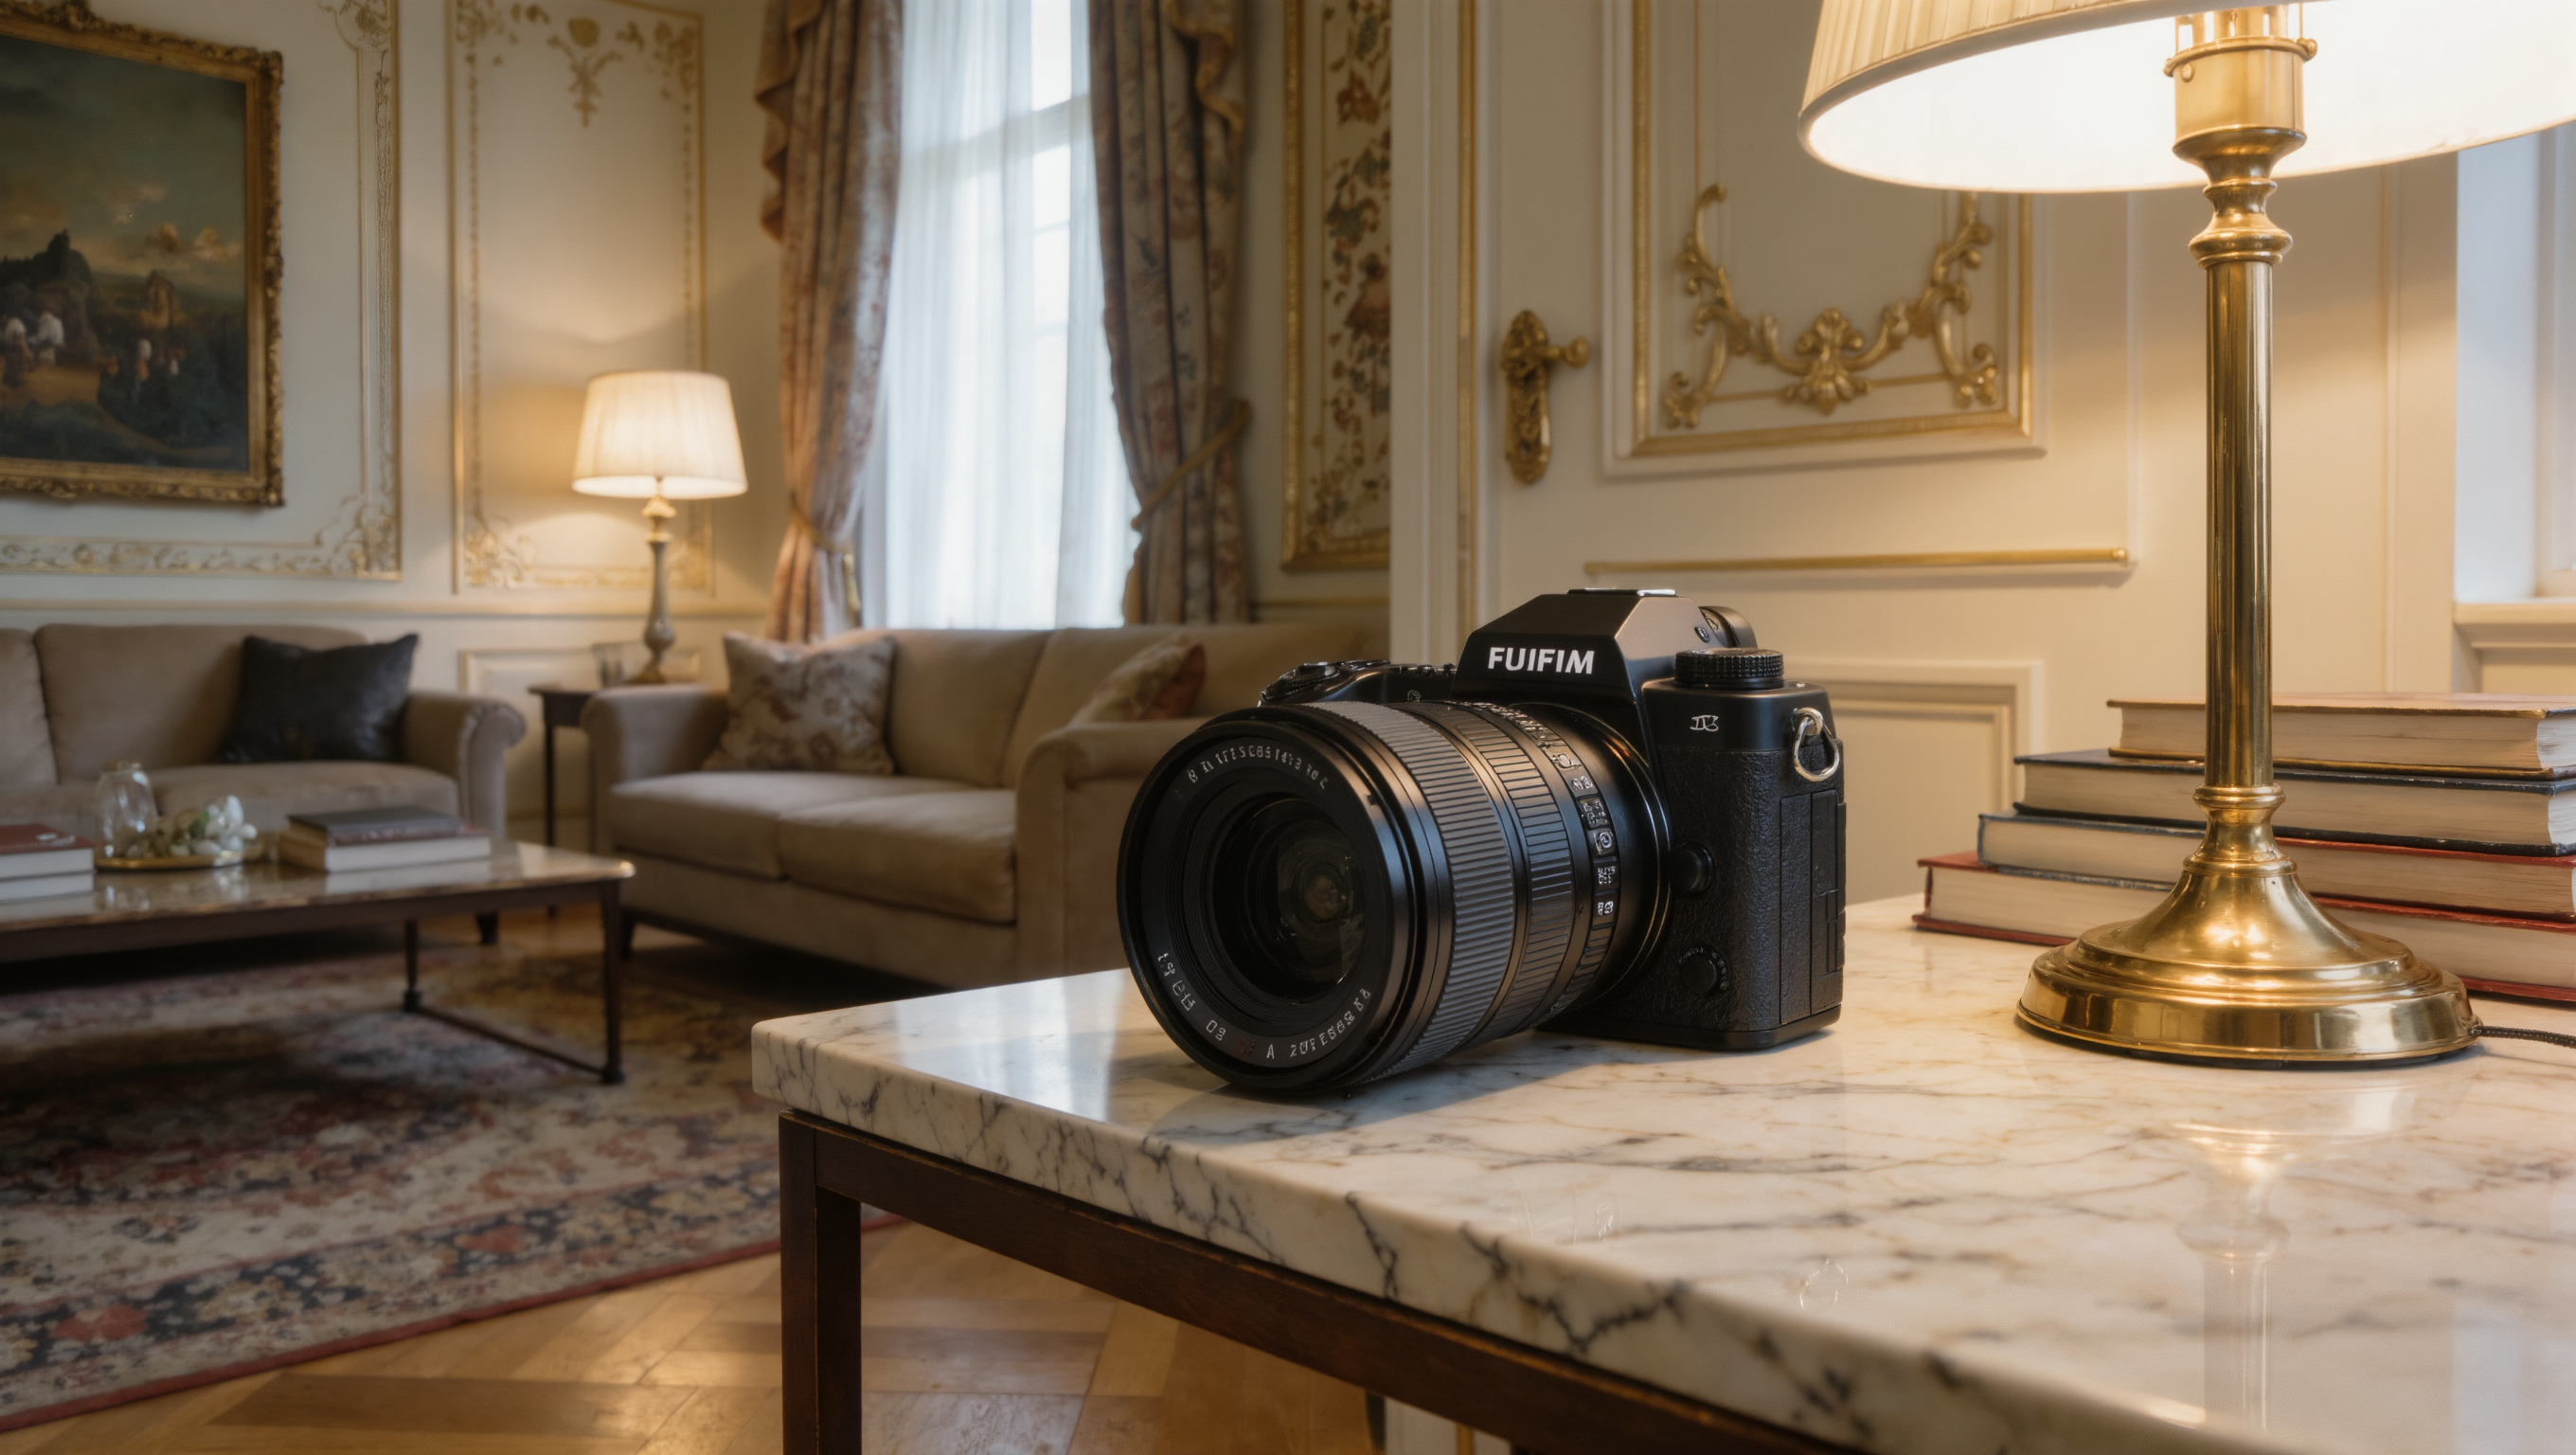
Wide lenses stretch edges, enlarge the foreground, and exaggerate depth. High or low camera positions alter furniture proportions. Exposure can brighten a room beyond its lived condition. Cropping can hide doors, circulation, adjoining spaces, and the furniture just outside the frame.
Color processing and automatic white balance may change paint, timber, fabric, and light. A photograph is not a reliable material sample.
Even a phone held slightly higher can make floor area appear more generous and furniture lower. A lens close to a sofa arm can make that arm look enormous. Perspective is doing work whether the photographer acknowledges it or not.
Photograph from every useful viewpoint
Use several consistent viewpoints: each entrance, the primary seated position, and a standing view of the main activity.
Do not read the room from one flattering corner. The entrance shows hierarchy and obstruction. The seated view shows relationships and glare. The standing activity view shows reach, surface use, and circulation.
If the room has several uses, photograph each use from the position where the body actually performs it.
Set up a repeatable photo check
Choose a consistent camera height and position. Keep the lens setting as stable as possible. Photograph the room in daylight and during its normal evening lighting.
Avoid styling specifically for the check. The point is to record how the room actually operates, including ordinary objects that reveal missing storage or overworked surfaces.
Mark the floor position with removable tape if you are testing changes over several weeks. Consistency makes before-and-after comparisons more meaningful.
Review in color and black and white
Color reveals palette relationships, temperature, and where saturation pulls attention. Black and white makes mass, contrast, and light distribution easier to read.
Squint or reduce the image size until small details disappear. The strongest shapes and darkest areas that remain are carrying the room’s visual weight.
If one side becomes a dark block in black and white, ask whether that density is one massed decision or simply the result of several unrelated dark objects living together.
Trace sightlines and routes
From each entrance image, mark the first three things the eye meets. Decide whether those elements deserve that authority.
Then mark the actual path through the room. A photograph may reveal that a chair, table, cabinet, or plant interrupts the route before it appears to do so in person. Return to the room and walk the path to confirm.
The image can suggest a collision. The body confirms it.
Use the camera to find scale problems
Small art above a large sofa, a timid rug under substantial seating, or several tiny accessories on a long wall often become obvious in a photograph because the frame makes relationships easier to compare.
Do not assume the largest object is the problem. Often the support around it is under-scaled.
Use Furniture Scale Check when the photograph shows a convincing physical layout with weak visual relationships.
Use the camera to find clutter drift
Mail, chargers, blankets, bags, toys, dishes, and work equipment can disappear from conscious attention because they are familiar. In a photograph, they read as high-contrast objects competing with the intended composition.
Before styling them away, ask why they live there. The photo may be documenting a missing storage or landing zone.
Use Storage and Working Zones when the same category keeps appearing in the frame.
Compare like with like
Before-and-after images should use similar height, lens, direction, crop, and light when they are meant to demonstrate a spatial change. Otherwise, the analysis must name the photographic difference.
A wider lens can make the after appear more spacious. A brighter exposure can make new paint seem more transformative. A lower camera can make ceilings appear taller. These are image changes, not room changes.
Do not let the best angle become the floor plan
Designing a room for one photograph can produce furniture that looks exceptional from the doorway and works badly from everywhere else.
Turn around. Sit down. Photograph the reverse wall. Look from the kitchen, hallway, or bed. A room should survive the views people live with. The camera only ever votes once.
Photograph at the busiest time
A clean empty room may hide the operational problem. Take one set of images when the room is actually working: dinner underway, children playing, desk in use, guests present, evening lights on.
The busiest image may reveal blocked paths, under-sized surfaces, storage drift, or competing functions more clearly than any styled photograph.
What the camera cannot judge
A photograph cannot fully represent seat comfort, reach, sound, temperature, glare in motion, door operation, cleaning, or how two people pass. It cannot tell whether the chair is difficult to rise from or the table edge catches a hip.
It cannot tell whether a room smells damp, becomes unbearably hot at four, or takes twenty minutes to reset after use.
Every visual finding requires a bodily test.
Use photos to test one variable at a time
Move the sofa, remove the small objects, change one lamp, rotate the rug, or clear one surface. Photograph again from the same positions.
Do not change five things and then claim the camera proved which one mattered. Controlled comparison is more useful than makeover drama.
Nobody does the second set
- The second set, taken during the room’s normal evening and again at its busiest hour. The empty daylight version is the one that lies.
- The black-and-white pass. Color is interesting. Mass is diagnostic.
- Going back into the room and confirming the collision with your own knees. Every photographic finding is a hypothesis until a body tests it.
The rest of it — unedited frames, fixed positions, dominant masses marked, one variable changed at a time — is the discipline that makes those three worth doing. Skip the discipline and you have a slideshow. Skip the three and you have a slideshow with opinions.
A second pair of eyes, not a second opinion
The camera exposes what familiarity has stopped showing you, which is a genuine service and worth the ten minutes it takes. It will also hand you a larger, brighter, more obedient room than the one you actually own, and it will do that without announcing the favor.
Take the findings. Leave the verdict to the room.
Same problem, elsewhere in the house
Room notes
Keep the room on the record.
One useful note at a time: what to test, what to ignore, and what changed when the room got another vote.